


Achievable logoAchievable logo
CCMA
Sign in
Sign up
Purchase
Textbook
Practice exams
Support
How it works
Resources
Exam catalog
Mountain with a flag at the peak
Textbook
Introduction
1. Medical assistant
2. Electronic records
3. Medical terminology and anatomy
4. The fundamentals of infection control
5. Introduction to vital signs
6. The patient interview and history
7. The physical examination
8. Appointment scheduling
9. Insurance billing
10. Diagnostic coding and the ICD-10-CM System
11. Procedural coding
12. Medical billing and reimbursement essentials
13. Assisting with medical specialties
14. Assisting with the musculoskeletal system
15. Assisting with the cardiovascular system
16. Assisting with the respiratory system
17. Assisting with the nervous system
18. Anatomy and physiology of the urinary system
19. Assisting in obstetrics and gynecology
20. Assisting in endocrinology
21. Assisting in ophthalmology & otolaryngology
22. Assisting in gastroenterology
23. Assisting in the immune & lymphatic systems
24. Assisting in pediatrics: the developmental stages and care
25. The medical assistant’s role in caring for the older patient
26. The role of the medical assistant in physical therapy examination and assessment
27. Preparing for minor surgery: room, solutions, and supplies
28. Introduction to the clinical laboratory
29. Urinalysis
30. Blood collection
31. Analysis of blood
32. Electrocardiography and heart structure
32.1 The principles of electrocardiography
32.2 ECG terminology, waves, and intervals
32.3 12-lead ECG and supplies
32.4 Running and finishing the ECG procedure
32.5 Rhythm analysis and arrhythmias
32.6 The electrocardiograph and ECG preparation
32.7 Troubleshooting and evaluation
32.8 Stress testing
33. The principles of pharmacology
34. Essential calculations and measurement systems
35. Solid, liquid, & solutions medication doses
36. Administering medications
37. Metabolism and core nutrient roles
38. Medical emergencies in the healthcare setting
Achievable logoAchievable logo
32.4 Running and finishing the ECG procedure
Achievable CCMA
32. Electrocardiography and heart structure

Running and finishing the ECG procedure

5 min read
Font
Discuss
Share
Feedback

Running the ECG tracing

Once the lead wires are attached to the electrodes, the medical assistant enters the patient information into the ECG machine. In some facilities, this may be done prior to bringing the patient into the room for the ECG. Typically, the patient’s name, date of birth, and medical record number are entered. Facilities will have additional information that they require to be entered, such as the ordering provider’s name and the provider reading the ECG.

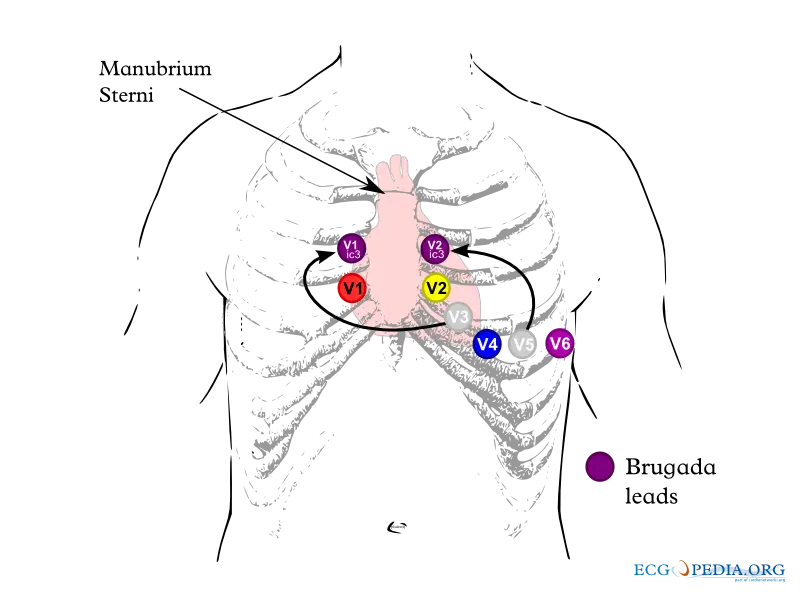
Chest lead placement at intercostal spaces shown
Chest leads, ICS, Intercostal space
Wikimedia Commons
/
CC BY-SA 3.0

Chest leads in the Intercostal space, I C S. The parts labeled are marked clockwise as follows: xiphoid process, sternum, clavicle, midclavicular line, mid axillary line, anterior axillary line, I C S, second I C S, third I C S, fourth I C S, fifth I C S, v sub 1, v sub 2, v sub 3, v sub 4, v sub 6, v sub 5.

After the information is entered, the medical assistant should remind the patient to remain still and not talk during the procedure. It usually takes a minute or less for the tracing to be created with a multichannel machine. Talking and movement will create artifact. Use a blanket to cover the patient who is cold.

Prior to running the tracing, double-check that all the electrodes are attached, and the lead wires are in the correct location. If the ECG machine has a screen, check the digital picture of the leads. Are they clear (without artifacts)? If not, is the filter(s) on? Are the leads (pictures) an equal distance from each other? Is the baseline horizontal, or is it moving up and down like a roller coaster? Do not run the tracing until it is clear, and the baseline is horizontal.

Artifact spotting: most artifact is technical, not cardiac, so it can usually be corrected before the tracing is printed. Two common examples:

  • Wandering baseline (a slow, smooth drift up and down): caused by respiration or by loose or dried-out electrodes; fix by repositioning the patient or reapplying fresh electrodes.
  • Somatic tremor (fine, irregular spiking): caused by muscle tension, shivering, or patient movement; fix by helping the patient relax, warming a cold patient, or repositioning the affected limb.

Single-channel and multichannel ECG machines

ECG machines can be single-channel or multichannel. In single-channel models, the machine contains one amplifier channel and one recording stylet. The single-channel machines record one lead (picture) at a time. The medical assistant must manually switch to the next lead until the procedure is done. When these machines are used, the process of recording a tracing takes up to 3 to 5 minutes. Single-channel machines can use paper rolls or Z-fold paper. These small strips of paper need to be mounted.

Multichannel machines monitor all 12 leads. This model has several stylets that allow for four groups of three leads to be traced every few seconds. With some machines, a fourth stylet traces one lead for the entire width of the page. Typically, the multichannel machines print the tracing on 8.5 × 11-inch or Z-fold paper.

Finishing the ECG procedure

If the ambulatory care facility uses an EHR system and the ECG machine interfaces with the EHR software, then the medical assistant should follow the procedure and upload the tracing to the patient’s health record. The provider will read the tracing once it is uploaded.

The provider must read the ECG before it is filed in the paper medical record. If the tracing was done on small strips of ECG paper, the strips need to be mounted per the facility’s procedures. Special 8.5 × 11-inch paper with adhesive strips is used to stick the ECG tracing strips. Once the strips are mounted, they can be given to the provider to read. If the ECG prints on 8.5 × 11-inch paper, it does not need to be mounted. It can be given to the provider immediately.

If an artifact appears on the screen, identify its cause and fix the issue before printing, or redo the tracing if it already printed. The Troubleshooting and evaluation chapter covers additional problem-solving strategies for artifacts such as AC interference and reversed leads. Once the tracing looks good on the screen, print it.

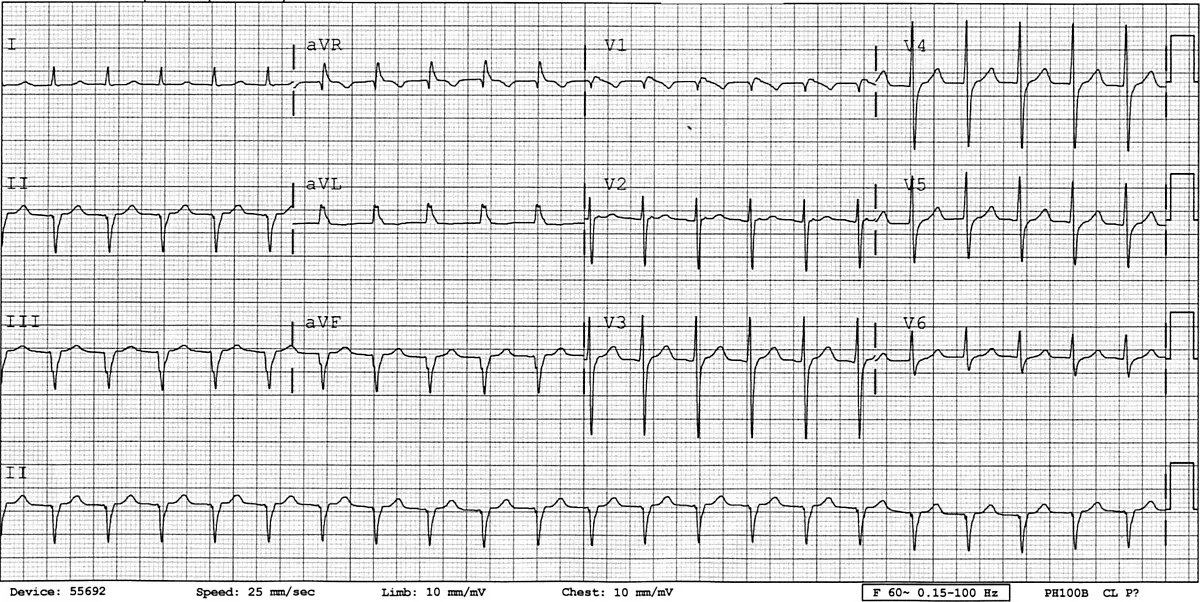
EKG tracing showing wandering baseline artifact
Wandering baseline
Wikimedia Commons
/
CC BY-SA 4.0

Sign up for free to take 8 quiz questions on this topic

Previous
Next  | 32.5 Rhythm analysis and arrhythmias
All rights reserved ©2016 - 2026 Achievable, Inc.

Running and finishing the ECG procedure

Running the ECG tracing

Once the lead wires are attached to the electrodes, the medical assistant enters the patient information into the ECG machine. In some facilities, this may be done prior to bringing the patient into the room for the ECG. Typically, the patient’s name, date of birth, and medical record number are entered. Facilities will have additional information that they require to be entered, such as the ordering provider’s name and the provider reading the ECG.

Chest leads in the Intercostal space, I C S. The parts labeled are marked clockwise as follows: xiphoid process, sternum, clavicle, midclavicular line, mid axillary line, anterior axillary line, I C S, second I C S, third I C S, fourth I C S, fifth I C S, v sub 1, v sub 2, v sub 3, v sub 4, v sub 6, v sub 5.

After the information is entered, the medical assistant should remind the patient to remain still and not talk during the procedure. It usually takes a minute or less for the tracing to be created with a multichannel machine. Talking and movement will create artifact. Use a blanket to cover the patient who is cold.

Prior to running the tracing, double-check that all the electrodes are attached, and the lead wires are in the correct location. If the ECG machine has a screen, check the digital picture of the leads. Are they clear (without artifacts)? If not, is the filter(s) on? Are the leads (pictures) an equal distance from each other? Is the baseline horizontal, or is it moving up and down like a roller coaster? Do not run the tracing until it is clear, and the baseline is horizontal.

Artifact spotting: most artifact is technical, not cardiac, so it can usually be corrected before the tracing is printed. Two common examples:

  • Wandering baseline (a slow, smooth drift up and down): caused by respiration or by loose or dried-out electrodes; fix by repositioning the patient or reapplying fresh electrodes.
  • Somatic tremor (fine, irregular spiking): caused by muscle tension, shivering, or patient movement; fix by helping the patient relax, warming a cold patient, or repositioning the affected limb.

Single-channel and multichannel ECG machines

ECG machines can be single-channel or multichannel. In single-channel models, the machine contains one amplifier channel and one recording stylet. The single-channel machines record one lead (picture) at a time. The medical assistant must manually switch to the next lead until the procedure is done. When these machines are used, the process of recording a tracing takes up to 3 to 5 minutes. Single-channel machines can use paper rolls or Z-fold paper. These small strips of paper need to be mounted.

Multichannel machines monitor all 12 leads. This model has several stylets that allow for four groups of three leads to be traced every few seconds. With some machines, a fourth stylet traces one lead for the entire width of the page. Typically, the multichannel machines print the tracing on 8.5 × 11-inch or Z-fold paper.

Finishing the ECG procedure

If the ambulatory care facility uses an EHR system and the ECG machine interfaces with the EHR software, then the medical assistant should follow the procedure and upload the tracing to the patient’s health record. The provider will read the tracing once it is uploaded.

The provider must read the ECG before it is filed in the paper medical record. If the tracing was done on small strips of ECG paper, the strips need to be mounted per the facility’s procedures. Special 8.5 × 11-inch paper with adhesive strips is used to stick the ECG tracing strips. Once the strips are mounted, they can be given to the provider to read. If the ECG prints on 8.5 × 11-inch paper, it does not need to be mounted. It can be given to the provider immediately.

If an artifact appears on the screen, identify its cause and fix the issue before printing, or redo the tracing if it already printed. The Troubleshooting and evaluation chapter covers additional problem-solving strategies for artifacts such as AC interference and reversed leads. Once the tracing looks good on the screen, print it.

More from Electrocardiography and heart structure

  • The principles of electrocardiography
  • ECG terminology, waves, and intervals
  • 12-lead ECG and supplies
  • Rhythm analysis and arrhythmias
  • The electrocardiograph and ECG preparation